Understanding the Tevo Tarantula Y-Axis
The Tevo Tarantula is a popular and affordable 3D printer, well-regarded for its open-source design and ease of modification. Understanding the Y-axis is crucial for maximizing print quality and printer longevity. The Y-axis, responsible for the back-and-forth movement of the print bed, is a critical component influencing print accuracy, speed, and overall performance. A properly functioning Y-axis ensures that the first layer adheres correctly and that subsequent layers stack accurately. The stock Y-axis setup of the Tevo Tarantula, while functional, often presents areas for improvement. This guide will delve into pro tips to help you upgrade your Y-axis to achieve better results.
Why Upgrade Your Y-Axis?
Upgrading your Tevo Tarantula’s Y-axis can dramatically improve print quality and overall printing experience. The stock components are often a compromise for cost, which can lead to issues such as bed wobble, inconsistent layer adhesion, and reduced printing speeds. The Y-axis upgrade addresses these limitations by increasing stability, reducing vibration, and improving precision. This directly translates to cleaner prints, fewer failed prints, and the ability to print at faster speeds without sacrificing quality. Furthermore, upgrades can extend the lifespan of your printer by reducing wear and tear on critical components, providing a solid foundation for years of 3D printing enjoyment. Ultimately, a well-executed Y-axis upgrade is an investment in your 3D printing success.
Benefits of Upgrading

Upgrading the Y-axis offers several advantages for the Tevo Tarantula. The most significant benefit is enhanced print quality. Upgraded components, such as linear rails or improved belts, minimize vibrations and ensure more accurate movements, resulting in smoother surfaces and sharper details. Increased print speed is another advantage. By reducing friction and improving the overall stability of the Y-axis, you can print at faster speeds without compromising print quality. The upgrade also increases the longevity of the printer. Upgrading to higher quality components reduces wear and tear, extending the life of the printer. The final benefit is reduced maintenance. A more robust Y-axis will require less frequent adjustments and maintenance, saving you time and effort. Therefore, the upgrades significantly enhance the printing experience.
Common Y-Axis Issues
Several common issues can plague the Tevo Tarantula’s Y-axis, leading to printing problems. Bed wobble is a frequent complaint, especially at higher printing speeds, where the bed can shake, causing layer shifting and poor adhesion. Belt slippage is another issue. Loose or worn belts can cause inaccurate movements, leading to dimensional inaccuracies and printing failures. The stock wheels and rails can also suffer wear and tear over time, causing the bed to become less stable, impacting print quality. Furthermore, inadequate bed leveling can exacerbate these problems, leading to uneven first layers and poor adhesion. Addressing these common issues is crucial for improving the overall performance of the printer.
Pro Tip 1 Leveling the Bed
Bed leveling is paramount for successful 3D printing. A perfectly leveled bed ensures the first layer adheres correctly to the print surface. It also sets the foundation for subsequent layers to build accurately. Uneven bed levels often result in the nozzle being too far or too close to the bed in different areas, leading to warping, poor adhesion, or even nozzle scraping. Regular bed leveling is a must for anyone who is serious about printing. This tip is often overlooked, but it can make or break a print, regardless of how the Y-axis is upgraded. Always start with the bed level and then consider the rest of the upgrades.
Importance of Bed Leveling

Proper bed leveling ensures the first layer adheres correctly and provides a stable foundation for the rest of the print. Incorrect bed leveling causes the nozzle to be too far from the bed, leading to poor adhesion and warping, or too close, which may cause the nozzle to scrape the bed. A correctly leveled bed is essential for accurate layer stacking and dimensional precision. Bed leveling allows the printer to put down each layer without errors. The success of every print starts here.
Leveling Methods
There are several methods for leveling your Tevo Tarantula’s print bed. Manual leveling is the most common, using the bed leveling screws at each corner to adjust the bed height until the nozzle is the correct distance from the bed. Paper leveling is a popular method to do this, inserting a piece of paper between the nozzle and the bed and adjusting the bed screws until the paper has slight resistance. Auto-leveling systems, which use sensors to map the bed surface, are another option. They automate the leveling process. Whichever method you choose, consistency is key. Leveling your bed before each print, or at least regularly, is a necessary habit.
Pro Tip 2 Belt Tension
Proper belt tension is a critical factor for achieving accurate prints. Belts that are too loose can lead to slippage, causing inaccuracies in the Y-axis movement and resulting in layer shifting or dimensional errors. Belts that are too tight can put excessive strain on the motors and bearings, leading to premature wear and tear. Optimizing belt tension involves finding the right balance, which minimizes play in the belt while avoiding over-tightening. This balance ensures the print head and the bed move in the exact manner, leading to precise and accurate 3D prints. Checking the belts on your Tevo Tarantula is a fast and free way to greatly improve print quality.
Why Belt Tension Matters

Belt tension directly impacts the accuracy and reliability of your prints. Correct tension minimizes the play in the belt, reducing the likelihood of slippage. It ensures the print bed moves precisely as instructed by the printer’s firmware. Properly tensioned belts result in accurate layer alignment and overall print fidelity. Poorly tensioned belts are a common source of problems, and taking the time to get this right is always time well spent.
Adjusting Belt Tension
The Tevo Tarantula has a simple system for adjusting belt tension. Often, a set of screws or a tensioner system allows you to tighten or loosen the belt. The goal is to tighten the belt enough to remove any slack but avoid excessive tightness, which can damage the motor or bearings. A general rule of thumb is that you should be able to deflect the belt slightly with your finger. Check for any unusual noises or vibrations during Y-axis movement. Make sure your printer is turned off and disconnected from power before touching the belts.
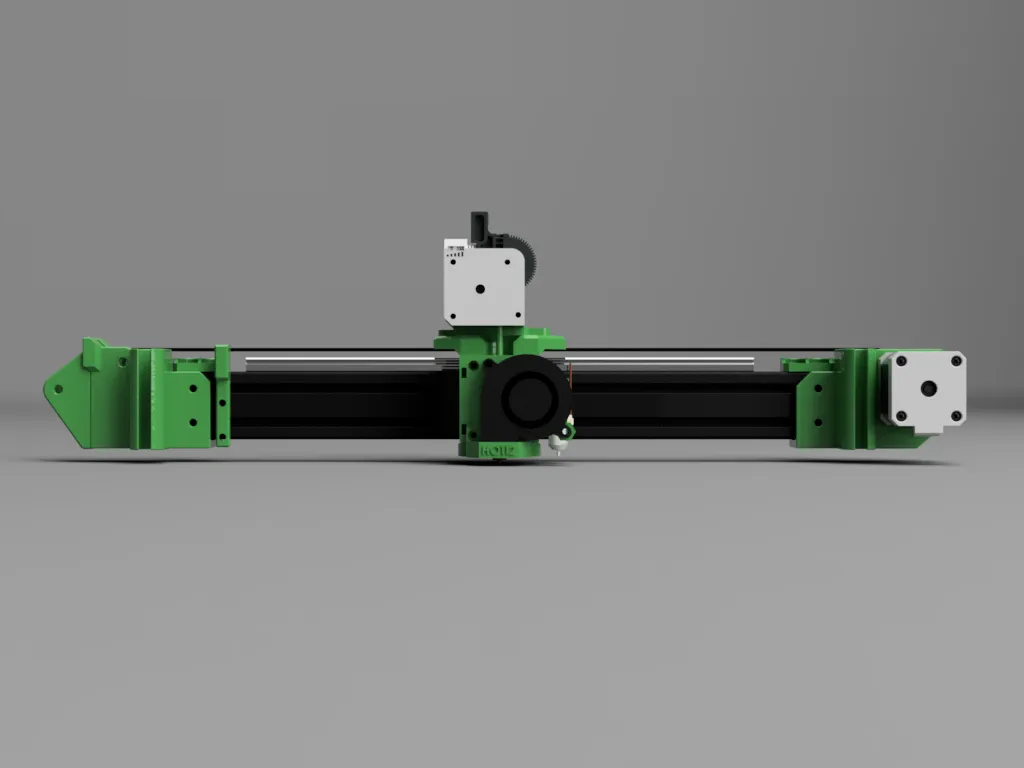
Pro Tip 3 Linear Rails
Upgrading to linear rails is a significant upgrade for the Tevo Tarantula Y-axis. Linear rails replace the original wheels or rods that guide the bed, offering smoother and more precise movement. This upgrade dramatically reduces friction and play, resulting in improved print quality and higher printing speeds. The added stability of linear rails reduces vibrations and improves the overall accuracy of the Y-axis movement. Furthermore, linear rails can extend the lifespan of the printer by reducing wear on critical components, offering years of improved performance. The cost can be substantial, but the performance gains are often well worth it.
Benefits of Linear Rails

Linear rails provide superior performance compared to the stock wheels. The primary benefit is enhanced print quality due to the smoother and more precise movement of the print bed. They also enable higher printing speeds without sacrificing quality. The linear rails reduce friction, resulting in less wear on the components and extending the printer’s lifespan. Furthermore, linear rails require less maintenance than the original wheels. This translates to a more reliable and efficient 3D printing experience.
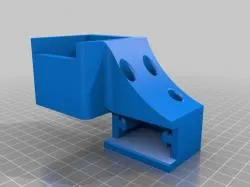
Installing Linear Rails
Installing linear rails requires some mechanical skill. The process typically involves removing the existing wheels or rods, mounting the linear rails, and then attaching the print bed to the rails. Make sure to purchase the correct size and type of linear rails for your Tevo Tarantula. Some modifications may be needed, such as drilling new mounting holes or adjusting the bed carriage. Precise alignment is crucial to ensure smooth movement and prevent binding. Following the manufacturer’s instructions carefully and taking your time is key to a successful installation. Make sure to disconnect the printer from power before you start working!
Pro Tip 4 Firmware Adjustments
Firmware adjustments can fine-tune the performance of the Y-axis, improving print accuracy and speed. Firmware is the software that controls the printer’s functions. Adjusting settings like acceleration, jerk, and steps per millimeter can optimize the Y-axis movement and reduce printing artifacts. Making these adjustments in the printer’s firmware allows the user to dial in optimal performance without changing physical parts. It is an excellent way to make the best of your current setup. Always back up your current firmware before making changes, so you can revert if needed. Ensure you know exactly what each setting does before changing it.
Configuring Firmware

Configuring the firmware involves accessing the printer’s settings through the control panel or a computer connection. You can adjust various parameters, such as acceleration, which controls how quickly the print bed speeds up and slows down, and jerk, which sets the maximum speed change between movements. Steps per millimeter must be set, which tells the printer how far to move the bed based on the number of steps the motor takes. Careful adjustments can optimize the printer’s performance and print quality. Researching the best settings for your specific upgrades and printer configuration is crucial. Make small adjustments and test them thoroughly.
Testing Firmware Settings
Testing the firmware settings involves printing test models and observing the results. Start by printing a simple calibration cube or a test print with straight lines and sharp corners. Observe the print quality, looking for issues such as ringing, over- or under-extrusion, or dimensional inaccuracies. Make adjustments to the firmware settings and repeat the test prints until you achieve optimal results. Iterative testing and adjustment are key to finding the perfect settings for your printer. Also keep detailed notes of each change.
Pro Tip 5 Preventative Maintenance
Preventative maintenance is crucial for maintaining the performance and extending the lifespan of your upgraded Y-axis. Regular maintenance includes cleaning and lubricating the linear rails, checking and adjusting belt tension, and inspecting components for wear and tear. Regular maintenance prevents problems from arising. Setting aside a few minutes each week will keep your printer working at its best. This proactive approach can help you avoid unexpected downtime and costly repairs. It helps keep your printer in top condition and provides you with the most reliable printing results.
Regular Maintenance Tasks
Regular maintenance tasks include cleaning the linear rails with a lint-free cloth and lubricating them with a suitable lubricant. Checking the belt tension and adjusting it as needed is also essential. Regularly inspect the belts, pulleys, and other moving parts for signs of wear or damage. It is also a good practice to check the bed leveling frequently. Regularly cleaning and lubricating all moving parts is critical for smooth operation and longevity. These tasks are simple but essential for keeping your printer in top condition.
Troubleshooting Common Problems
Even with proper maintenance, problems can still arise. Troubleshooting involves identifying the source of the issue and taking corrective action. Common problems include layer shifting, which can be caused by loose belts or incorrect firmware settings, and inconsistent layer adhesion, which can be caused by bed leveling issues or incorrect print temperatures. If you experience problems, start by inspecting the belts, checking bed leveling, and verifying firmware settings. Online resources, such as forums and communities, can provide helpful troubleshooting tips. Do not be afraid to get some help.