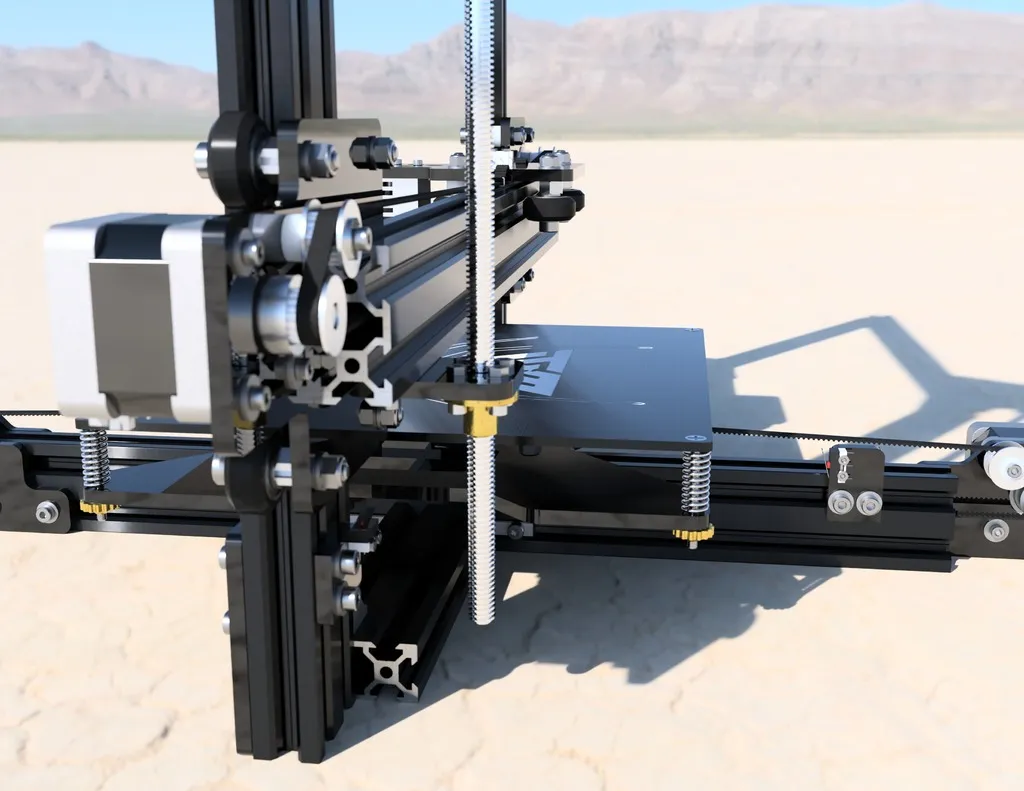
Essential Simplify3D Settings for Tevo Tarantula
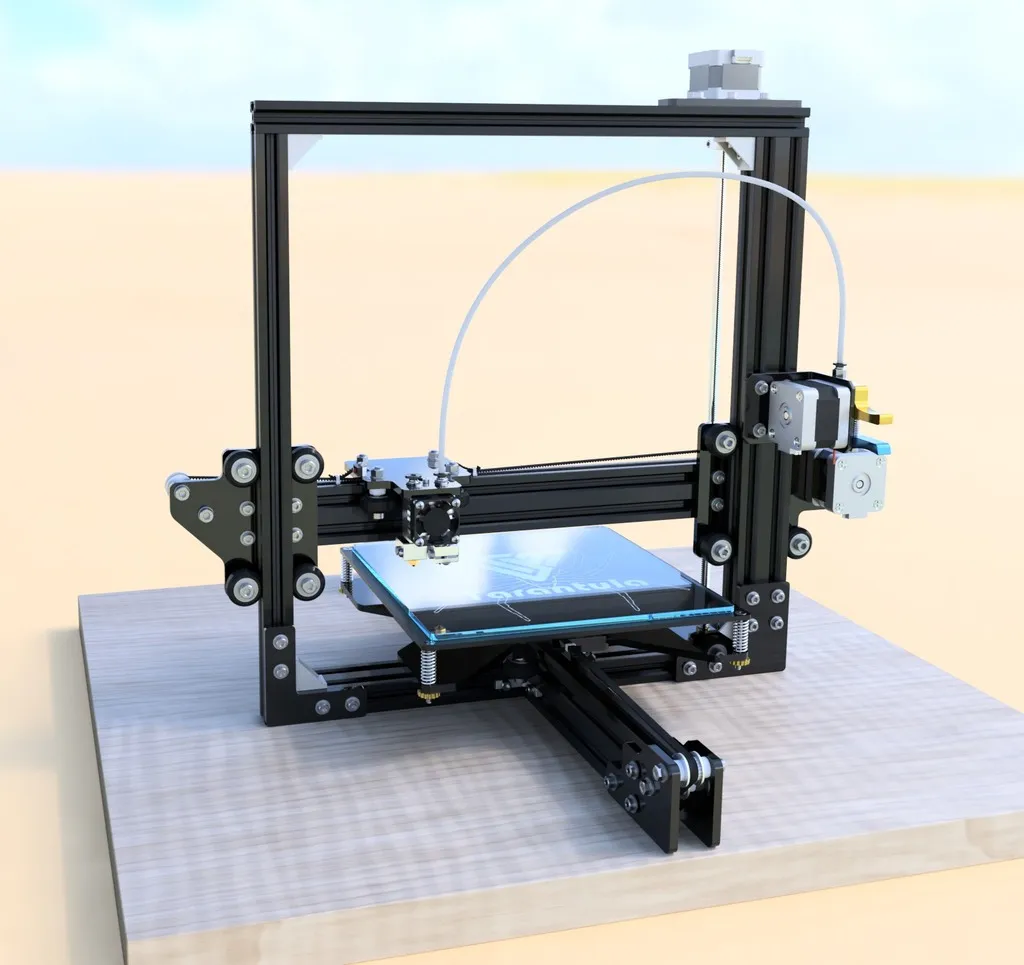
The Tevo Tarantula is a popular 3D printer, known for its affordability and ease of use. To get the best results from your prints, optimizing your Simplify3D profile is crucial. This guide will walk you through the top 5 essential settings you should adjust to improve print quality, reliability, and overall performance. By carefully considering these parameters, you can unlock the full potential of your Tevo Tarantula and create stunning 3D models. Remember that every printer and filament combination is unique, so these settings should serve as a starting point, and some fine-tuning may be needed for optimal results. Good luck and happy printing!
Choosing the Right Filament
The type of filament you choose significantly impacts your print settings. For example, PLA (Polylactic Acid) is a user-friendly material that’s easy to print with, typically requiring lower temperatures and minimal bed heating. On the other hand, ABS (Acrylonitrile Butadiene Styrene) requires higher temperatures and a heated bed to prevent warping. PETG (Polyethylene Terephthalate Glycol) offers a balance of strength and flexibility, often falling in between PLA and ABS in terms of required settings. Understanding the specific requirements of your chosen filament, including temperature ranges and bed adhesion recommendations, is the first step towards creating a successful Simplify3D profile. Always consult the filament manufacturer’s recommendations for the best results.
Selecting Your Nozzle Size
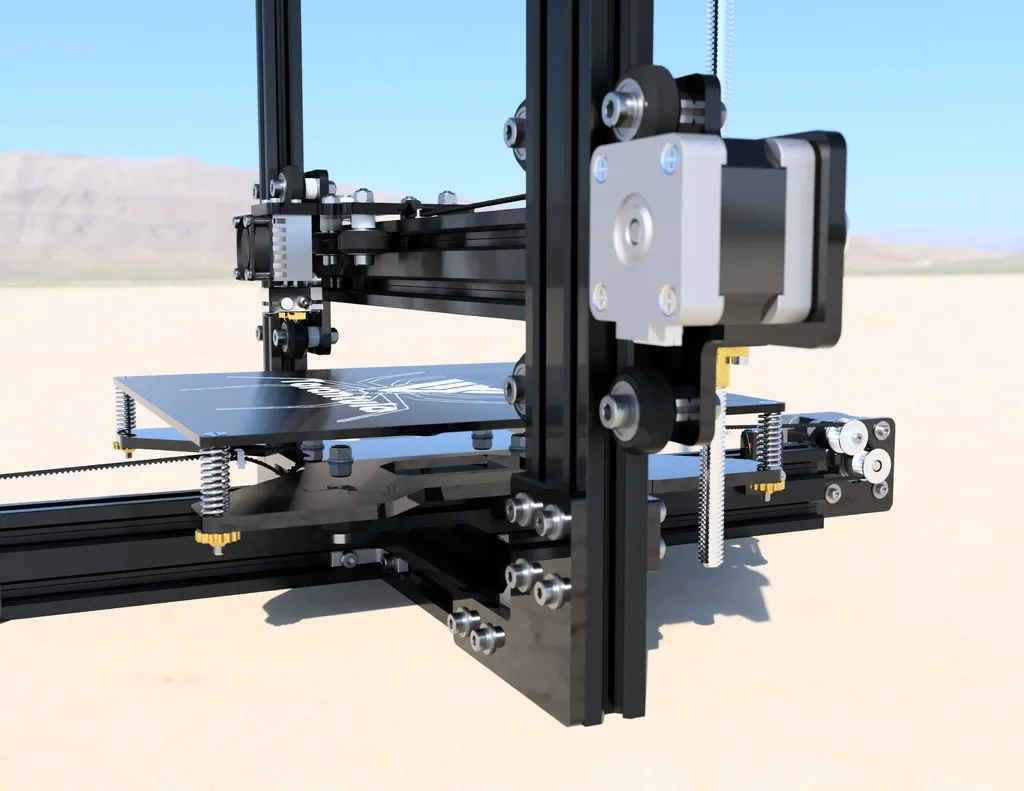
The nozzle size directly affects print resolution, speed, and the types of models you can create. A smaller nozzle (0.2mm - 0.4mm) allows for finer details and smoother surfaces, making it ideal for intricate designs. However, it also increases print times. Larger nozzles (0.6mm and above) offer faster printing speeds, which is excellent for larger objects or when speed is a priority, but can compromise detail. For the Tevo Tarantula, a 0.4mm nozzle is a versatile choice, offering a good balance between detail and speed. You can always experiment with different sizes to find the best fit for your specific needs. Make sure that the nozzle diameter setting in Simplify3D matches the actual nozzle installed on your printer.
Print Bed Temperature Optimization
Proper bed temperature is crucial for bed adhesion and preventing warping, especially when using materials like ABS or PETG. PLA typically requires a bed temperature of around 60°C, while ABS may need 100-110°C. Ensure the bed is clean, and consider using an adhesive such as glue stick or blue painter’s tape to improve adhesion. Simplify3D allows you to set the bed temperature for the initial layer and subsequent layers. Starting with a slightly higher initial bed temperature can help with adhesion, then lowering the temperature for the following layers may help prevent warping. Always monitor the first layer carefully to ensure it adheres properly before letting the print continue unattended.
Understanding the Importance of Layer Height
Layer height, the thickness of each printed layer, greatly influences print quality and speed. A lower layer height (e.g., 0.1mm or 0.15mm) results in smoother surfaces and finer details, at the expense of longer print times. A higher layer height (e.g., 0.2mm or 0.3mm) prints faster but may show more visible layer lines. For the Tevo Tarantula, a layer height of 0.2mm is a good starting point, providing a decent balance between quality and speed. Adjust this setting based on your print’s needs; detailed models benefit from thinner layers, while functional parts may be fine with thicker layers. Also, make sure the layer height is a multiple of your Z-axis step (e.g. 0.04). This avoids under-extrusion.
Print Speed Settings for Tevo Tarantula
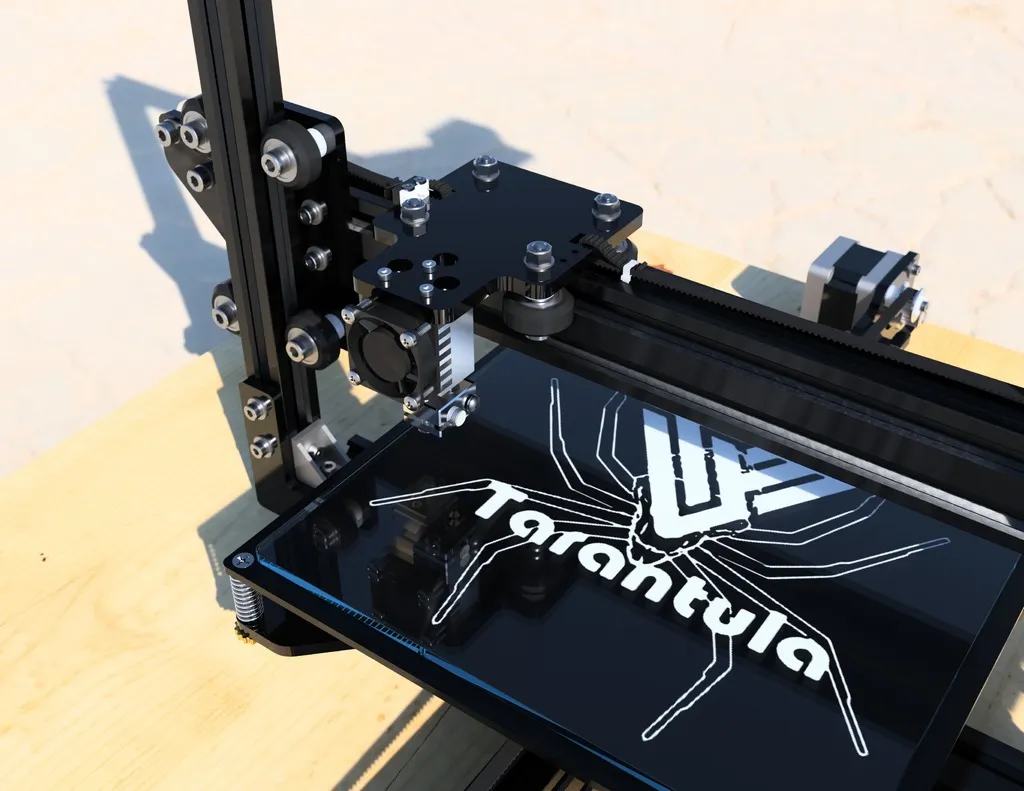
Print speed impacts both the print time and the quality of the final product. Balancing speed and quality is one of the main functions of Simplify3D. Too fast, and you may encounter issues like under-extrusion, poor layer adhesion, and vibrations that negatively affect the surface finish. Too slow, and you may be wasting valuable time, which also can make the filament heat and soften too much, creating blobs. Start with a general print speed of around 40-60 mm/s for outer perimeters, and consider lower speeds (30-40 mm/s) for the initial layers for better adhesion. The infill speed can often be faster, up to 80-100 mm/s. Experiment with these settings for the specific filament you are using to find the optimal combination of speed and quality for your Tevo Tarantula.
Detailed Explanation of Print Speed Settings
Simplify3D offers several speed settings that affect different printing aspects. The “Outline Underspeed” determines the speed of the outer perimeters, impacting the detail and quality of the external surfaces. The “Infill Speed” affects how quickly the interior structure is printed. The “Support Speed” refers to the speed at which support structures are printed, which may be slower to improve accuracy. Reducing the speed of the first layer often improves adhesion, as mentioned before. The speed also influences the temperature and the flow rate, thus you may consider to adjust both in order to obtain better results. Adjust these speeds based on your specific model, filament, and desired quality. Testing is key to dialing in the perfect print speed settings for your Tevo Tarantula.
Infill and Support Structure Settings
Infill and support structures are critical for creating strong and complex 3D prints. Simplify3D offers a variety of options to customize these elements for optimal performance. Correct settings ensure that your prints have sufficient structural integrity while minimizing material usage and print time. You must optimize these settings to find the perfect balance. It is important to consider both how the structure will perform when the print is complete and how much support will be needed during the printing process.
Infill Density and Pattern Selection
Infill density, expressed as a percentage, determines the amount of material used to fill the inside of your model. A higher infill percentage results in a stronger part but also increases print time and material consumption. For functional parts that require significant strength, consider 40-60% infill. For decorative parts or prototypes, 15-30% infill may be sufficient. The infill pattern also affects the strength and appearance of the print. Simplify3D offers a variety of patterns, including rectilinear, honeycomb, and gyroid. The best choice depends on your part’s needs and aesthetic preferences. The gyroid pattern often provides an excellent balance of strength and material efficiency.
Support Structure Configuration
Support structures are necessary for printing overhangs and bridging sections. Simplify3D lets you control support angle, density, and placement. The support angle determines the maximum overhang angle that can be printed without support, which is generally around 45 degrees. Support density affects the amount of support material used and the ease of removal. Place supports only where needed to minimize material usage and post-processing. Simplify3D offers options like “Everywhere” or “Touching Buildplate” to specify support placement. Experiment with different settings to find the best balance between support and printability.
The Role of Support Interface
The support interface is the layer that contacts the model and provides support. Configure its settings to make support removal easier and improve the quality of the supported surfaces. Simplify3D allows you to customize the interface layer spacing and pattern. Increasing the spacing between the interface and the model can make supports easier to detach. A grid or rectilinear pattern for the interface can create a smoother surface where the support touches the printed part. Proper interface settings can significantly improve the overall print quality and reduce post-processing efforts, making this a vital part of your print setup.
Temperature Settings and Their Impact
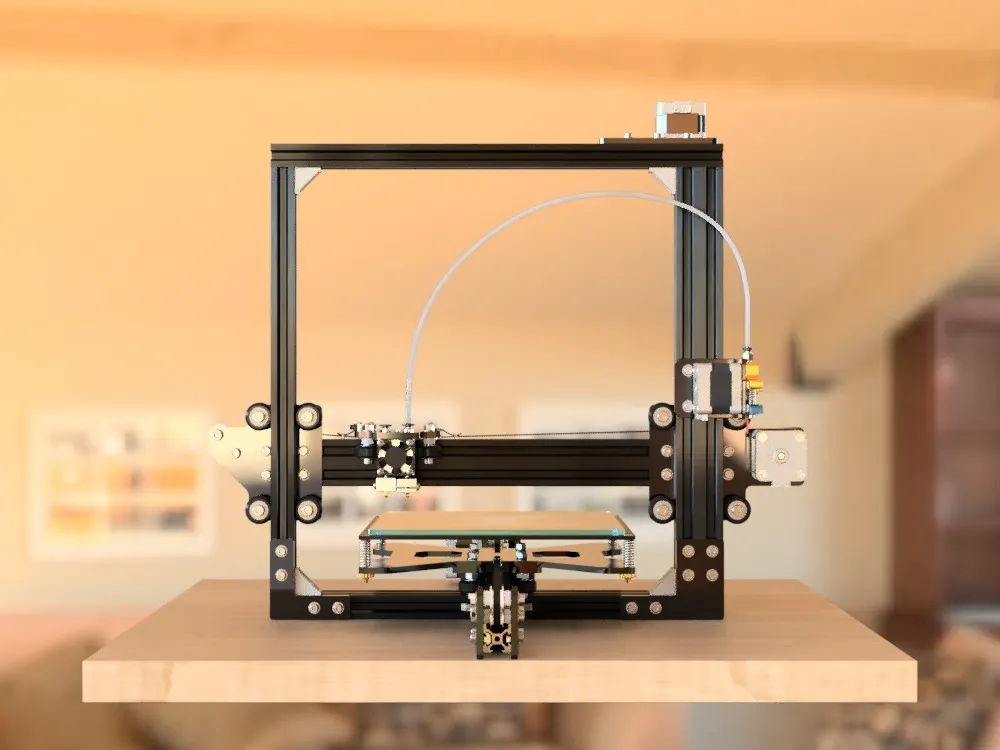
Temperature is one of the critical factors influencing the success of your 3D prints. Correct temperature settings are required for smooth extrusion, layer adhesion, and dimensional accuracy. The optimal temperature varies depending on the filament type. Simplify3D allows you to specify different temperatures for the extruder and the print bed, allowing for precise control during the printing process.
Extruder Temperature Calibration
The extruder temperature dictates how well the filament melts and flows through the nozzle. Too low, and the filament won’t extrude properly, leading to under-extrusion and poor layer adhesion. Too high, and the filament can become overly soft, causing stringing, oozing, and a loss of detail. The manufacturer’s recommended temperature range for your filament is a good starting point. From there, you can run temperature calibration tests to find the sweet spot. Observe the quality of the printed lines or small towers at different temperatures to determine the optimal setting. You can adjust the extruder temperature in Simplify3D under the temperature settings.
Bed Temperature Calibration
The bed temperature is crucial for first-layer adhesion and preventing warping. ABS and PETG often require a heated bed, while PLA can usually print fine with a bed temperature around 60°C or even without heating. A properly calibrated bed temperature ensures that the first layer adheres well to the bed, preventing the print from detaching during the printing process. Too low, and the print may lift off the bed; too high, and you might have elephant’s foot or other issues. As mentioned earlier, the bed temperature should be adjusted according to the filament’s specifications. Simplify3D allows you to set the bed temperature in the temperature settings.
Cooling Fan Settings for Optimal Prints
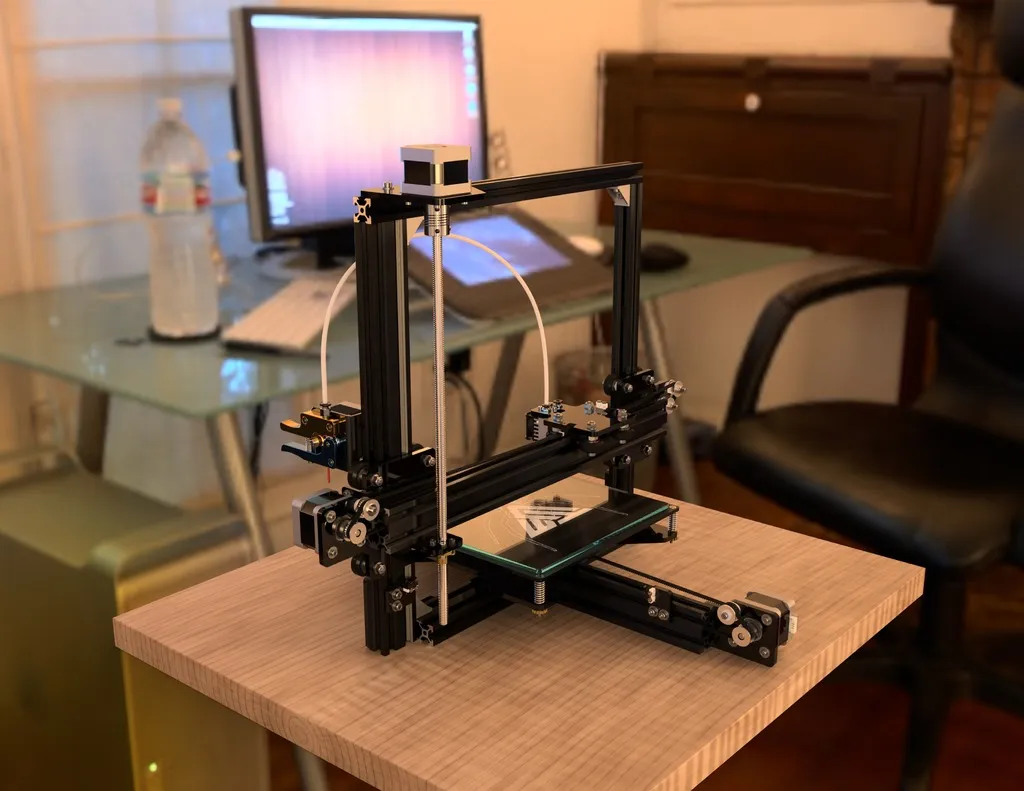
Cooling fans are essential for controlling the temperature of the extruded plastic as it solidifies. Proper cooling can improve print quality, especially for overhangs, bridges, and small details. Simplify3D provides detailed control over fan settings, enabling you to fine-tune your prints for the best results. Fan speed and strategy influence the quality and appearance of your prints. It is essential to learn how these settings work to achieve the best outcome.
Fan Speed and Layer Cooling
The fan speed determines how quickly the printed layers cool. For PLA, a higher fan speed is typically beneficial, particularly for bridging and overhangs. For ABS, cooling may be less critical, and in some cases, may be detrimental, but can be increased gradually. Start with a moderate fan speed for the initial layers to prevent warping, and then gradually increase the speed as the print progresses. You can configure this in Simplify3D under the cooling settings, often with a simple percentage setting. Layer cooling significantly affects the outcome; therefore, it is essential to experiment with these settings.
Fan Control Strategies
Simplify3D offers various fan control strategies. You can set the fan speed to remain constant or vary it based on layer time or print speed. Some users choose to disable the fan for the first few layers for better adhesion and then gradually increase the speed. You can also control the fan based on the toolhead’s position, targeting areas that benefit from cooling. Experiment with these options to determine the best cooling strategy for your specific prints. The main goal is to optimize the cooling to match your model and filament properties.
Advanced Simplify3D Settings for Tevo Tarantula
Beyond the basic settings, Simplify3D offers several advanced options that can further refine your prints. These features address specific problems like stringing, first-layer adhesion, and overall print quality. These settings should be adjusted based on your filament and print requirements. Using the advanced features helps to create more robust profiles. To learn these advanced setting fully, practice and test are the keys.
Retraction Settings and Their Importance
Retraction is essential for preventing stringing and oozing, especially when printing with flexible materials or when traveling between different parts of the model. The retraction setting controls how far the filament is pulled back from the nozzle and the speed at which it is retracted. If there is too much retraction or the speed is too fast, this can damage the filament. Optimize retraction settings by adjusting the retraction distance (typically between 1mm and 5mm, depending on the filament and setup) and the retraction speed (usually between 25 mm/s and 60 mm/s). Test different combinations to eliminate stringing without causing any issues with the extrusion.
First Layer Settings for Adhesion
The first layer is critical for print success. Ensure excellent adhesion by adjusting the first layer settings. You can slow down the first-layer print speed to improve adhesion, use a lower first-layer height for better contact with the bed, and increase the bed temperature slightly for the first layer. You may also consider increasing the extrusion width, or using a raft or brim for difficult prints. Carefully level your print bed, as proper leveling is paramount to ensuring the first layer is as smooth as possible. Simplify3D provides options to adjust these settings for the first layer, helping to ensure that it sticks firmly to the bed.
Troubleshooting Common Print Issues
Even with optimized settings, you might encounter issues. It’s essential to troubleshoot any problems and make adjustments to your profile. Warping, stringing, under-extrusion, and poor layer adhesion are common problems. Each problem has multiple potential causes and solutions. Understanding the source of a problem is the first step in resolving it. By checking your settings, and making small tweaks, you can usually overcome any challenges and achieve high-quality prints.
To address warping, ensure proper bed temperature, use an enclosure, and make sure your print bed is level. Stringing can be resolved by adjusting retraction settings and the extruder temperature. Under-extrusion may be caused by a clogged nozzle, incorrect temperature, or a problem with the extruder itself. Poor layer adhesion can often be attributed to the incorrect temperature, or print speed. Use the troubleshooting resources available in Simplify3D or online communities to find solutions for your specific issues. Remember that consistent testing and adjustments are key to mastering the art of 3D printing and getting the most from your Tevo Tarantula and Simplify3D.
