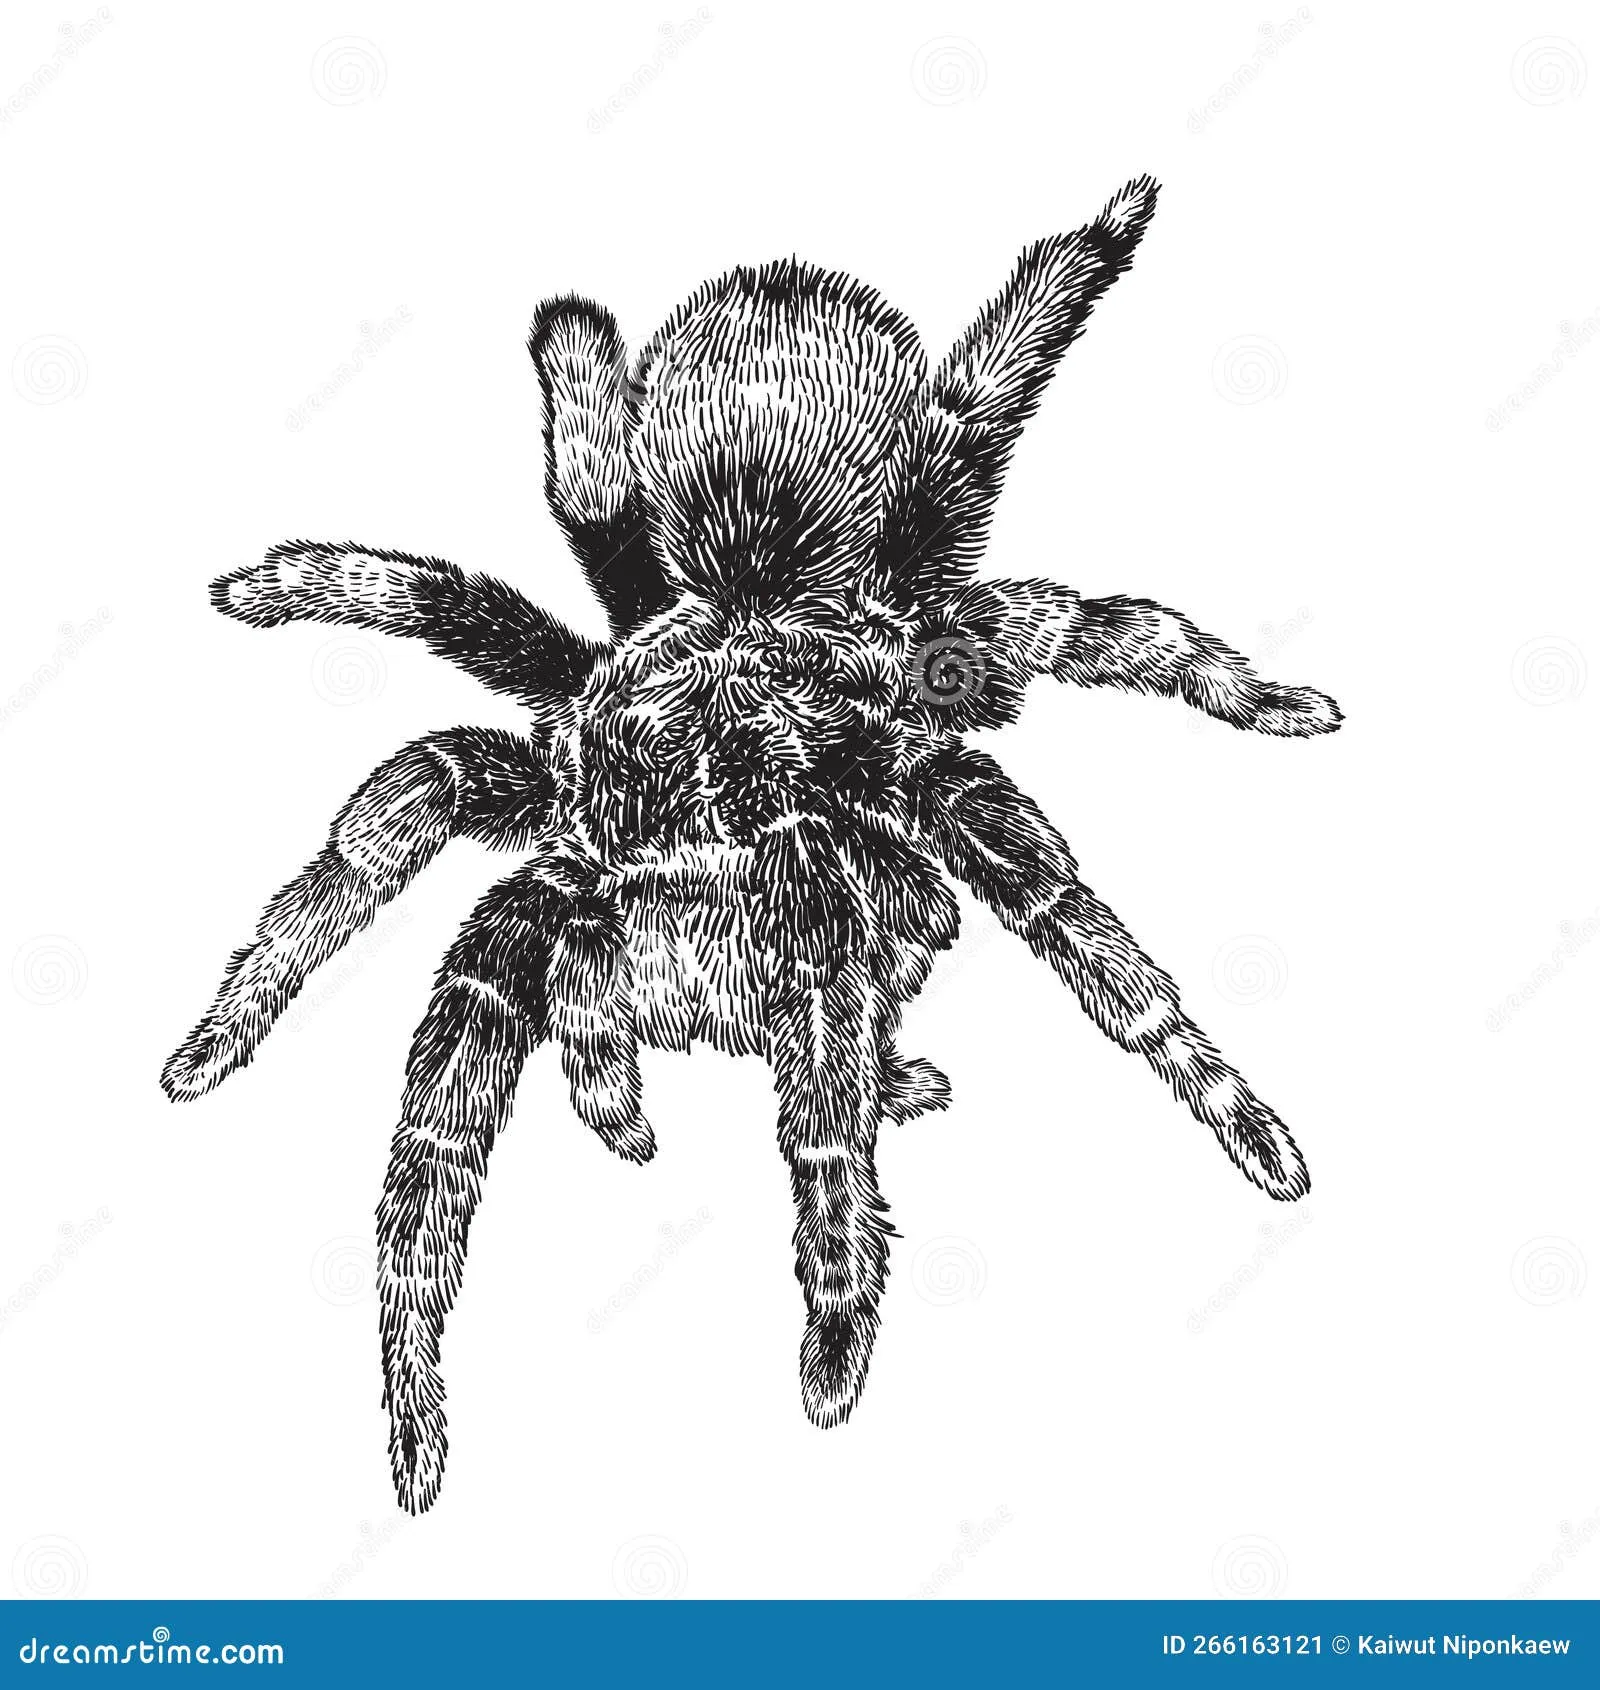
Materials Needed for 3D Tarantula Drawing
Embarking on a 3D tarantula drawing journey requires the right tools and materials. Gathering these beforehand will ensure a smooth and enjoyable drawing experience. Selecting the appropriate materials can significantly impact the final outcome of your artwork, allowing you to achieve the desired 3D effect and realistic appearance. Let’s delve into the essential components you’ll need to create your stunning 3D tarantula.
Essential Drawing Tools
First and foremost, you’ll need a set of drawing pencils. A variety of hardness grades, such as HB, 2B, 4B, and 6B, is ideal to create a range of values for shading and highlights. A blending stump or tortillon is crucial for smoothing out pencil strokes and achieving seamless gradients, which is essential for the 3D effect. An eraser, both a standard eraser and a kneaded eraser, are essential for correcting mistakes and lifting highlights. A good quality pencil sharpener ensures your pencils are always ready to create precise lines and details. Finally, a ruler or straight edge can be handy for creating initial outlines and ensuring accurate proportions in your drawing.
Paper Selection for 3D Effect

The type of paper you choose can significantly influence the outcome of your 3D tarantula drawing. Opt for paper that is specifically designed for drawing, such as Bristol paper or drawing paper with a smooth or medium surface. These types of paper are ideal for pencil drawings, as they allow for easy blending and layering of graphite. The smoothness of the paper will allow the pencil to glide across the surface, providing a better control and achieving fine details. Consider the weight of the paper; heavier paper will withstand more erasing and blending, which are crucial for creating a 3D effect. Also, paper that is slightly off-white or toned can enhance the contrast and depth in your drawing, making the tarantula appear more realistic.
Step-by-Step Guide to Drawing a 3D Tarantula
Now that you have all the materials, it’s time to start creating your 3D tarantula. This step-by-step guide breaks down the drawing process into manageable stages. Follow these steps carefully to bring your tarantula to life on paper. Each step builds upon the previous one, so it’s essential to take your time and focus on accuracy. Remember that patience and practice are key to mastering 3D drawing techniques. With each step, you’ll enhance the three-dimensional appearance of your tarantula, making it look more realistic and engaging.
Creating the Basic Shape
Begin by lightly sketching the basic shape of the tarantula’s body. Start with an oval or a slightly elongated shape for the cephalothorax (the head and chest region). Then, sketch the abdomen, which is typically larger and more rounded, attached to the cephalothorax. Use light pencil strokes to establish the overall proportions and positioning of the tarantula on the paper. At this initial stage, don’t worry about the details; focus on getting the basic shapes right. Remember to keep your lines light so that you can easily erase and make adjustments as you progress. This foundational step is vital for ensuring the overall form and realistic appearance of your drawing.
Adding Details to the Tarantula’s Body

Once the basic shape is established, start adding details to the tarantula’s body. Lightly sketch the eight eyes on the cephalothorax, noting their relative sizes and positions. Then, add the fangs and mouthparts. Focus on the texture of the tarantula’s exoskeleton by drawing small, irregular shapes. Use a reference image to guide you, and pay attention to the details of the carapace (the top part of the cephalothorax) and the abdomen. Vary the pressure of your pencil to create different tones and add depth. This stage is where your tarantula starts to come to life, so take your time and be precise.
Drawing the Legs and Pedipalps
The legs are crucial for creating the 3D effect. Start by lightly sketching the legs and pedipalps, which are the small appendages near the mouth. Observe the tarantula’s leg structure, paying attention to the joints and segments. Use curved lines to depict the roundness of the legs, creating the illusion of volume. Start with light strokes, gradually building up the details and adding shadows to define the shape. The pedipalps are small and often used for sensory purposes; draw these with similar attention to detail as the legs. Vary the thickness of the lines to enhance the 3D effect; lines closer to the viewer should be thicker, and those further away should be thinner.
Adding Shadows and Highlights for 3D Effect
This is where the 3D effect truly comes to life. Identify the light source and determine where the shadows will fall. Start by lightly shading the areas away from the light source, such as under the legs and on the underside of the body. Use your blending stump or tortillon to smooth out the shading and create seamless transitions between light and dark areas. Add highlights on the areas directly exposed to the light, such as the top of the cephalothorax and the legs. The contrast between the shadows and highlights is what creates the illusion of depth and dimension, making your tarantula appear to pop off the page.
Techniques for Shading

Employ various shading techniques to achieve the desired 3D effect. Hatching involves drawing parallel lines to create shadows; the closer the lines, the darker the shadow. Cross-hatching is layering hatching at different angles to create darker tones. Stippling involves using small dots to create shadows; more dots create a darker effect. Blending is crucial; use a blending stump to soften and merge the lines together to create smooth transitions. Vary the pressure on your pencil to control the darkness of the shading, enabling you to add depth and realism to your drawing.
Highlighting Techniques
Highlights are as important as shadows. Use a kneaded eraser or a white colored pencil to add highlights to the areas where light directly hits the tarantula. Carefully lift the graphite from the paper to reveal the highlights, making sure to define the form. The highlights will further enhance the 3D effect, giving your drawing a sense of volume and realism. Use the eraser with a light touch to avoid damaging the paper and to maintain the smooth look of the highlights. Strategically placed highlights will help the tarantula look like a three-dimensional object.
Common Mistakes to Avoid in 3D Tarantula Drawing
Avoiding common mistakes can significantly improve the quality of your 3D tarantula drawing. Understanding these pitfalls will help you refine your technique and achieve a more realistic and visually appealing result. Being mindful of these aspects ensures your drawing looks professional. Learning to correct these errors can elevate your artwork.
Incorrect Shading Techniques

One of the most common mistakes is incorrect shading. Avoid harsh lines and use blending techniques to create smooth transitions between light and shadow. Using too much pressure can create dark, flat areas, losing the 3D effect. Ensure your shading aligns with the light source; shadows should be cast in the correct direction and should gradually fade. Avoid creating a uniform shadow across the entire drawing; vary the shading intensity to reflect the shape and volume of the tarantula.
Poorly Defined Details
Another common mistake is poorly defined details. The tarantula’s intricate features, such as the texture of the exoskeleton and the legs, need careful attention. Avoid drawing vague or blurry lines. Make sure the details are precise and clear to give the drawing a realistic appearance. Pay attention to the shape and proportion of each element and avoid rushing the details, allowing for a more convincing and refined artwork. Taking the time for fine details will distinguish your drawing from others.
Tips for Realistic Tarantula Drawing
To create a realistic 3D tarantula drawing, several techniques can elevate your work. These tips focus on enhancing the realism and visual appeal of your artwork. Applying these methods will add extra detail and quality to your drawing. By implementing these tips, you’ll be able to create a convincing and captivating 3D tarantula drawing.
Study Tarantula Anatomy

Thoroughly study the anatomy of a tarantula. Understand the structure of its body, the placement of the legs, and the texture of its exoskeleton. Knowing these details will help you accurately depict the tarantula’s features in your drawing. Observe reference images to ensure that your drawing is anatomically correct. Paying attention to the proportions, the number of legs, and the arrangement of the eyes will improve the accuracy and realism of your drawing. Detailed understanding is the key to creating a realistic drawing.
Use Reference Images
Always use reference images. High-quality photos or videos of tarantulas will provide essential information for accurate details. These images should guide you through the entire process and keep you on track. The reference image can guide you in areas of shading, highlights, and overall form. View different angles and lighting conditions to understand the tarantula’s anatomy. Referencing helps artists to be realistic and detailed in their creations.
Practice Regularly
Practice regularly. Consistent practice will improve your drawing skills and allow you to experiment with different techniques. The more you draw, the more confident you will become in your abilities. Practice drawing different poses and angles to improve your understanding of form. Consider drawing a tarantula every day to speed up the learning process. Continuous practice will help you create impressive 3D tarantula drawings.
Final Touches and Presentation of Your 3D Tarantula Drawing

After completing your 3D tarantula drawing, there are several steps you can take to refine and present your artwork effectively. These final touches will enhance the appearance and overall appeal. These steps will make the finished product look more professional. Take the time to evaluate and finalize your drawing for the best results.
Framing and Displaying Your Artwork
Once your drawing is complete, consider framing it to protect it and give it a professional look. Choose a frame that complements the artwork and the overall aesthetic. A simple black frame is often a good choice, as it will make the drawing stand out. Use acid-free mats to prevent the artwork from yellowing over time. When displaying your drawing, make sure it is in a well-lit area where it can be easily seen. Be proud of your creation and display it where you can admire it!